Appreciation Engine is able to track extra Discord activity via a bot on your Discord server. To set this up, simply follow the guide below.
Create Your App on Discord
1. Before creating your discord bot, you'll need to set up a Discord app and add it to your AE Connect using our guide here.

Create Your Discord Bot
1. Return to the Discord developer site and go to the Bot tab of your new Application.

2. Click Add Bot
Confirm "Yes, do it!" in the popup that appears to create your bot. You can also set it's username here - the default is the same as the name of the app.

3. Enable message reading permissions
Scroll down the current page (the main page on the Bot tab) to Privileged Gateway Intents and check the MESSAGE CONTENT INTENT option, then click Save.

Important
Many Discord Bot guides will also ask you to set an INTERACTIONS ENDPOINT URL (found on the General Information tab) for your bot. These are generally used for registering slash commands and commands to the server. We don't need this for our outbound tracking. Setting this value will break the activity listening by AE, so leave it blank.
Setup Your Bot on AE Connect
1. Return to your application's Manage page in the AE Dashboard
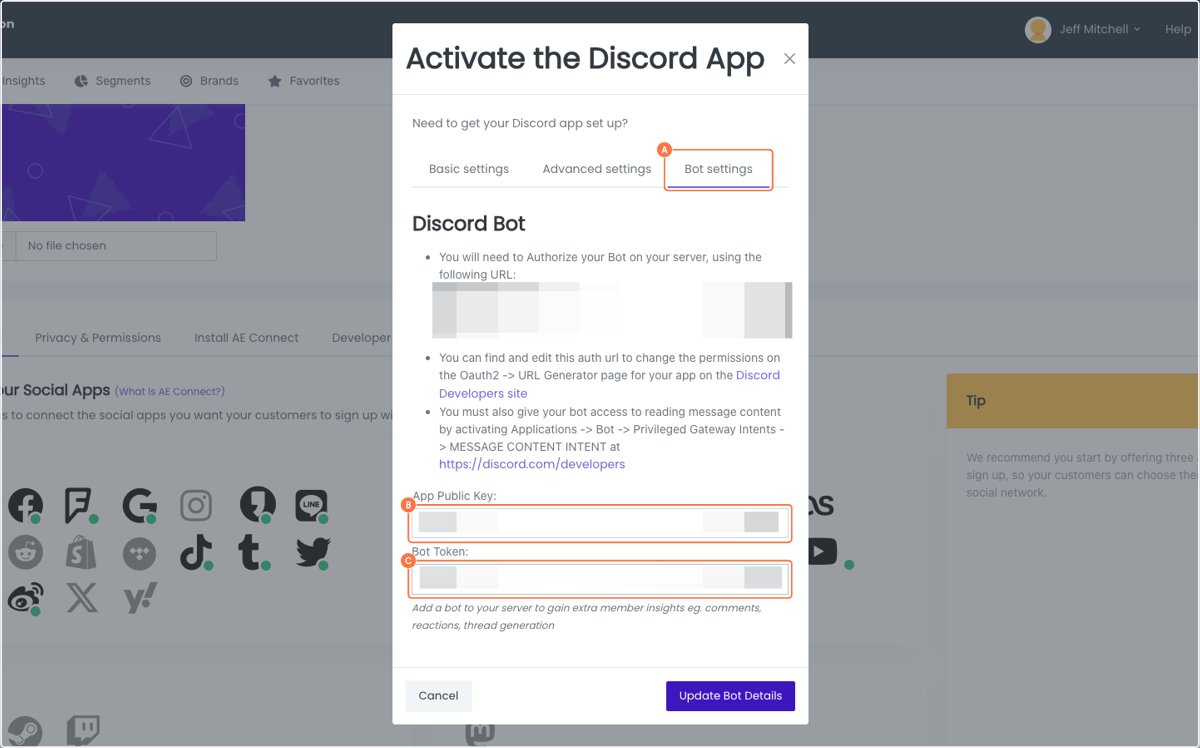
Click the Discord icon under Social Apps to trigger the popup. If you've already activated the app per the app setup guide, you'll see a new Bot settings tab alongside Basic settings and Advanced settings.
2. Register your bot data in AE
The Bot settings tab now auto-generates your bot's authorization URL (with your app's Client ID already filled in) and gives inline instructions, including a direct link to the Discord Developers site and a reminder to enable the MESSAGE CONTENT INTENT.
Paste your App Public Key (from the General Information tab of your app at the Discord Developer site) and your Bot Token (from the Bot tab of the Discord Developer site — you'll have to generate it the first time, and take note of it since it's hidden on future visits) into the fields provided.
Note: Application ID and Client ID are always the same.
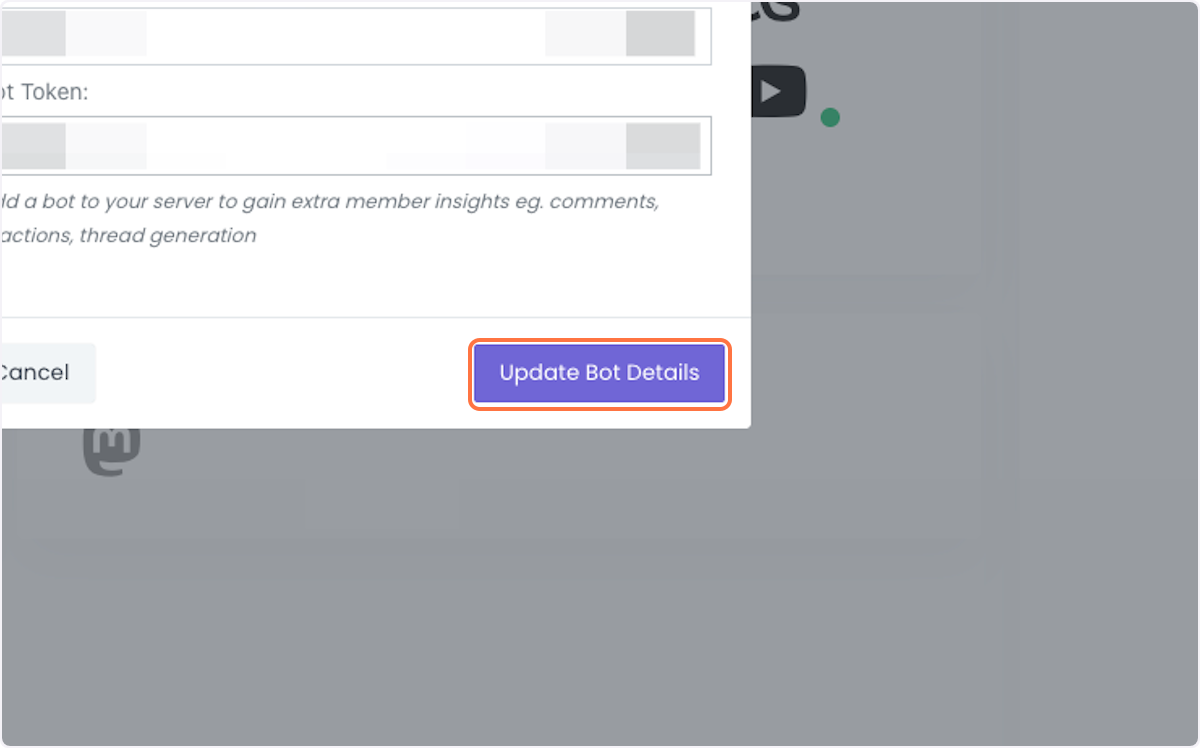
3. Click Update Bot Details to save and enable AE's Bot listening.
Setup Your Bot on Your Discord Server
1. Authorize your bot on your Discord Server
Use the authorization URL shown on the Bot settings tab (see above) to sign in as your bot to the server you want to listen on — the URL is generated for you with your Client ID already included, so there's no need to manually edit a template URL. You can still adjust permissions in the OAuth2 -> URL Generator section of the Discord developer site if you'd like to grant more than the defaults.
By default AE only needs the permissions for "Bot" (in the Scope section) and "Read Message History" (in the Bot Permissions section).
Clicking your auth URL and following the steps will add your bot to your server:


You should now see your bot in the online members section of your server!

You're now all set up!
AE's bot listening is now picking up the following activities:
- Posted a message on [Your Brand's] Discord server
- Created a thread on [Your Brand's] Discord server
- Added a reaction on a comment [Your Brand's] Discord server
- Joined a voice channel on [Your Brand's] server on Discord
Connect other social networks:
Or choose from the full list.
If you are ready, install AE Connect, our social login solution, into your website.
Was this article helpful?
That’s Great!
Thank you for your feedback
Sorry! We couldn't be helpful
Thank you for your feedback
Feedback sent
We appreciate your effort and will try to fix the article